Setting up your first template
Templates are a great way to keep your branding and messaging consistent while also keeping your campaign set-up time to a minimum. This chapter will focus on walking you through setting up a re-usable template that you can use as a starting point for all your future email campaigns.
Creating a new template
Templates provide a great way to make re-usable content to keep your branding and messaging consistent across various email campaigns. They also help cut down on the set-up time of each email message within CONNECT.
Tutorial
Please note: To try out the feature, click the full screen icon  in the tutorial.
Email design best practices
Preheader
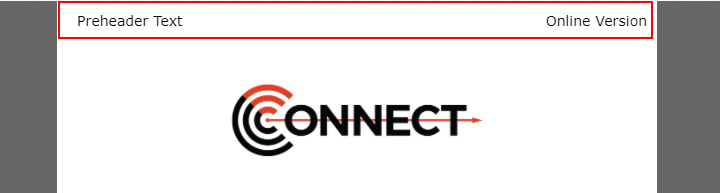
The preheader of an email is the text the appears before the main header of the email. We recommend including one in your email template as it provides a great way to introduce the email and is usually the first piece of text shown to the user in their email client in the "preview" area.
The left text is where you put the key message of your template. This can be an offer or the main article headline of your newsletter. It should grab their attention so they want to open your email and continue reading.
The right is where we recommend adding in an online version (web version) link. This is a link the user can use to read your email in their web browser instead of the email client. See "Web Version" below on how to create this link in CONNECT.
Web Version
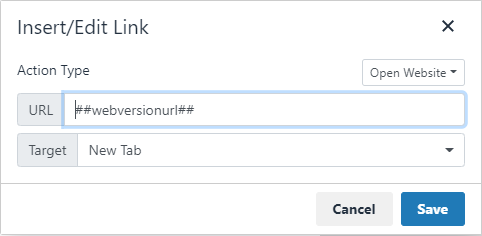
When adding a web version link to your template, you might want to use common phrases such as "Online Version" or "View this in your browser". This text is then linked using the editor and where you put the URL, you put a special dynamic variable tag that CONNECT will recognize "##webversionurl##". This tells CONNECT to generate a unique URL for that recipient and place that URL in place of the tag.