Getting to know Messages
- How to create a message with the Drag & Drop builder
- The From Address
- How to Set Up Effective Click Tracking
- How to Preview a Message
- How to Test a Message
How to create a message with the Drag & Drop builder
Personalize your emails even further by inserting the information in your Data extension. This can be used for displaying preferred location information or the customer's assigned customer rep. This can create a more one-to-one experience - the type that converts.
Tutorial
Please note: To try out the feature, click the full screen icon  in the tutorial.
The From Address
The From Address is one of the most important parts of your email campaign.
It identifies who you are to not only your customers but the ISP's (Gmail, Hotmail, etc.) as well.
And with any identity, it also indicates your reputation in the space as well. If your a proper email sender who follows all the rules, or a spammer who they should block.
Below we will discuss specific parts of the from address that might help you decide what to use.
1. The Sending Domain

- The Sending Domain holds your identity. Consider it your passport to the email space, it holds where you've been and you need it to get where you want to go.
- You can also configure this domain to use special records that, if used properly, will confirm to ISP's that you are a legitimate email sender.
- The domain is the last half of your email address, that piece after the "@" symbol.
- For example, if your email address is "support@umpiredigital.com", then your domain would be "umpiredigital.com".
2. The Local Part

- The Local Part of your from address is more for show and can be used to identify the type of email that they will be receiving or what to expect from that address.
- In most cases, email senders use things like "email@" or "newsletter@". One thing to stay away from is "info@".
- This type of address is commonly flagged as Junk in a lot Junk Filters in products like Hotmail or Outlook.
- You can also use something more personal if your email calls for it, like "Jennifer@" and so forth.
- The great thing about the Local Part in email sending in CONNECT is that the Local Part can be whatever you want it to be, even if it's not a valid email address.
- The important piece for you to able to send is the Sending Domain and this must be set up by CONNECT Support in order for your emails to be deployed.
For more information on dynamic creation of From and Reply-To addresses: Click Here
How to Set Up Effective Click Tracking
Follow this tutorial to setup your message's click tracking in a way that will make your reports easier to read.
1. Change the Link Names to reflect what they are naming
- Tip: Use a name that describes not only what the link is but where the link is in the message.
- This works effectively when you have the same link text or image (ie. Click Here) in multiple locations in your message and need to separate them out in reporting.
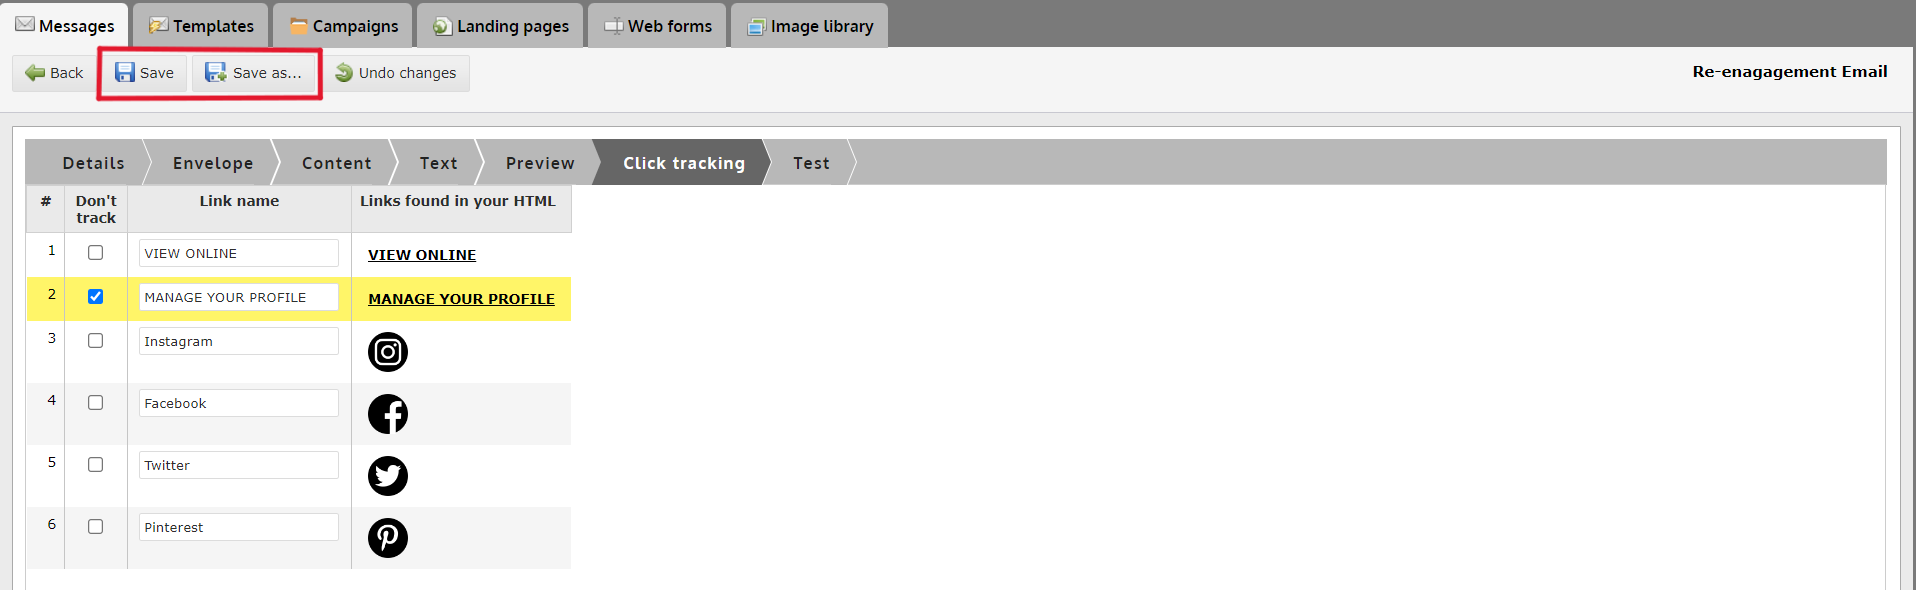
2. All changes are highlighted in Yellow
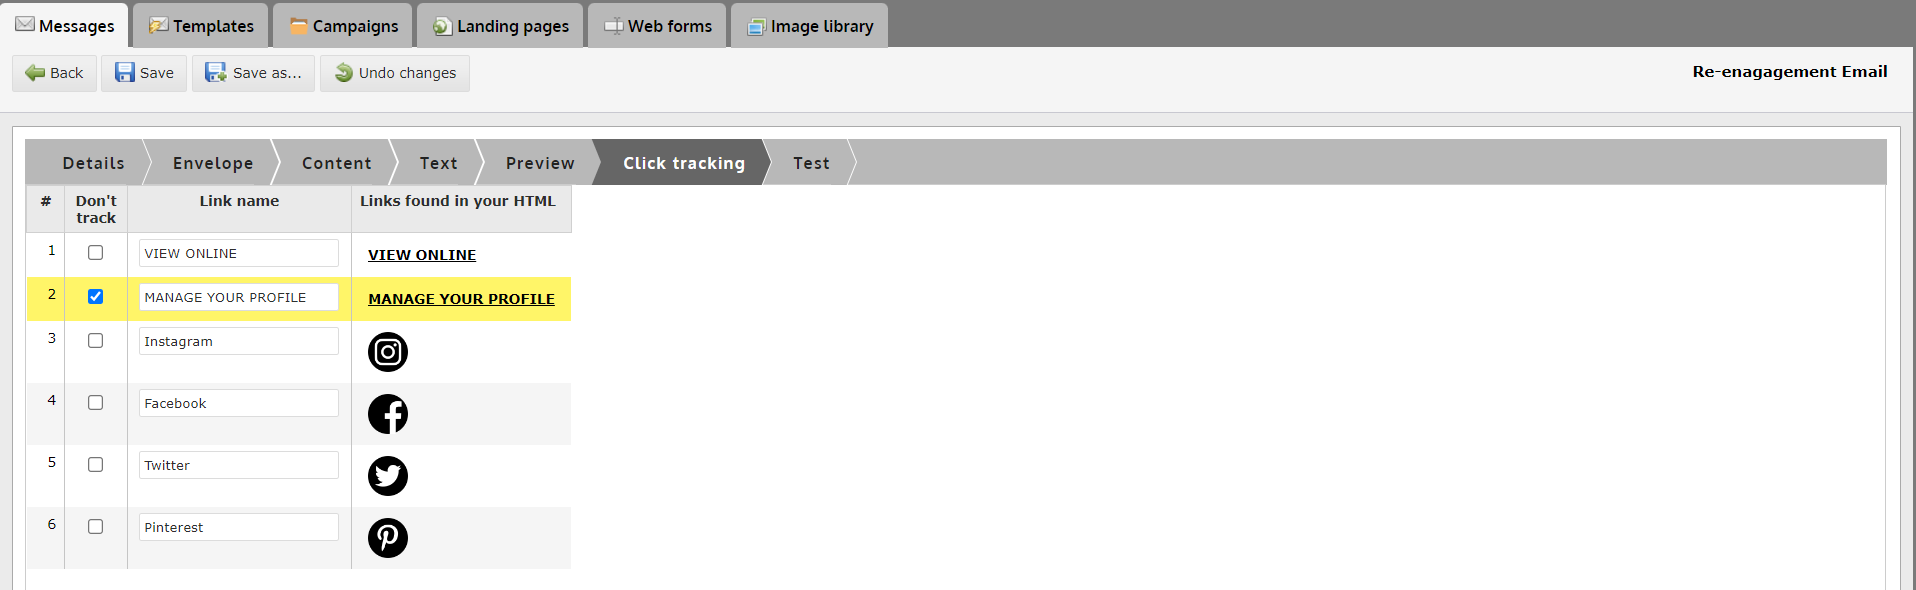
3. Save your work once finished
How to Preview a Message
Previewing a message is a great way to verify the message you are about to use is correct and to instantly see the changes you have made to the message.
If you are using dynamic variables or content, it is a great way to verify that the logic and variables you used will work with the data you have collected for your contacts.
Below are multiple options throughout the system for previewing your message.
1. The Preview Step

At any time while setting up a message, you can switch to the "Preview" step and review what your message looks like in different situations. Below are some of the options you have access to.
- Contacts - This feature allows you to select contacts that are in your DataMart and see how the message would look to them with their dynamic information.
- Required DataMart Fields - This feature allows you to type in values for the DataMart fields that have been used in the dynamic content and preview what the template looks like when a contact has those values.
- Combination - This feature allows you to easily cycle through the different combinations of content that are available in the template.
- Note: This does not take into account the logic used.
- Screen Width - This feature allows you to simulate different screen widths and how your template reacts to them. Note: This does not simulate device specific behaviour.
If you would like a more in depth look at the Preview step and its feature, click here.
2. Selecting Contacts for Previewing
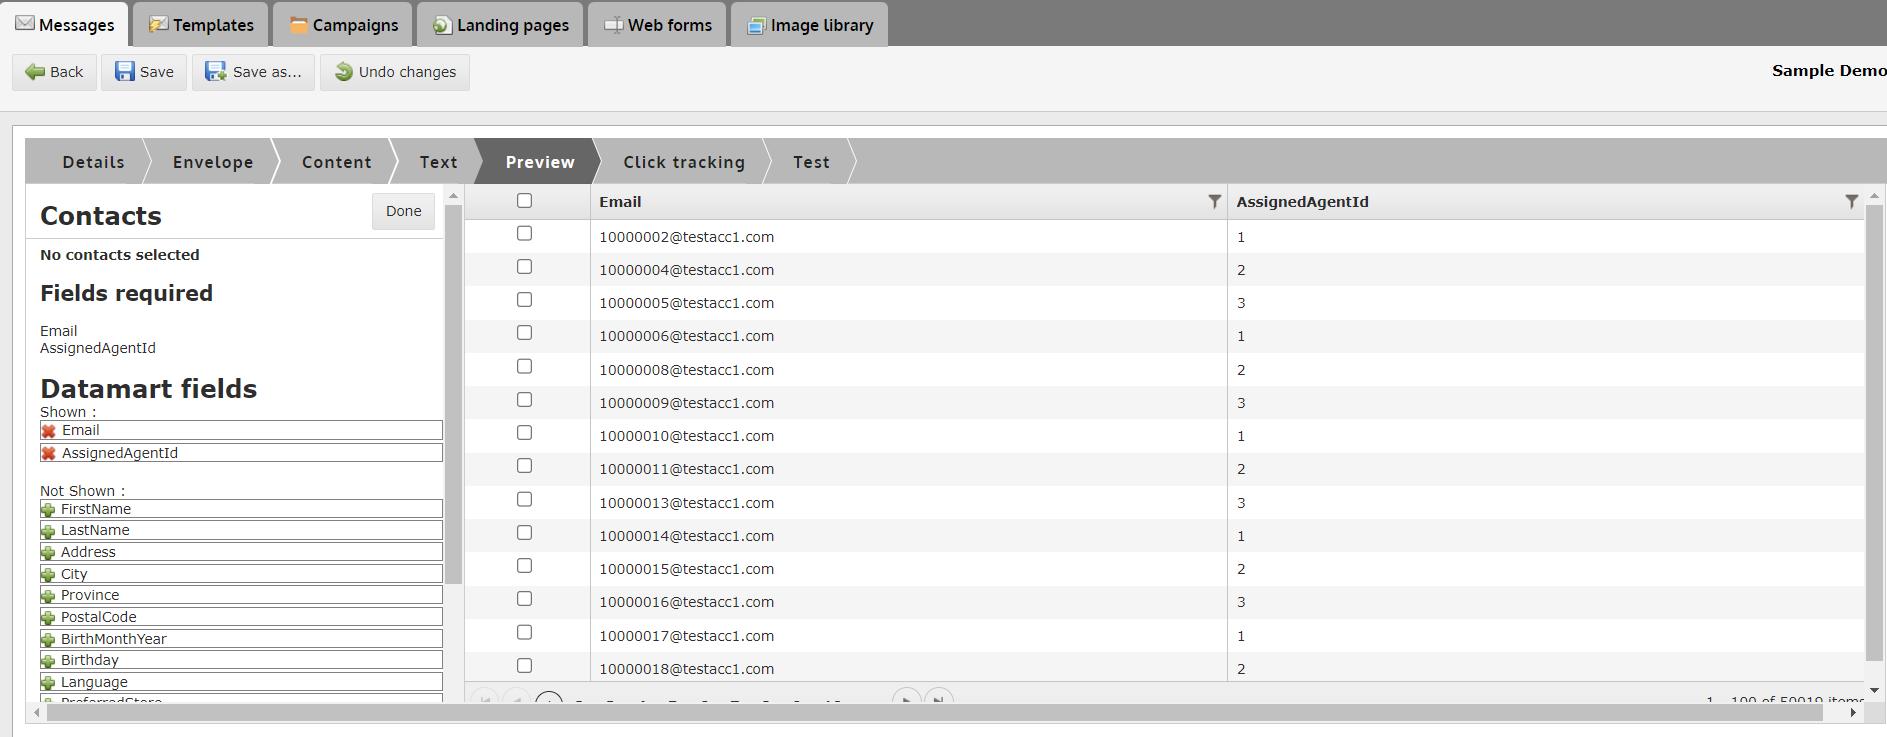
If you would like to view what your message will look like to other contacts in your DataMart, you can select contacts and load their data into the message to see how it will render with their information.
When selecting contacts, you have access to the following options:
- Fields required - This section lists the fields used in your message as both Dynamic Variables and in dynamic content logic. This will help you determine which fields are important to your message.
- DataMart fields - This section allows you to add/remove different DataMart fields from the contact grid on the right side of the screen.
- Each field is filterable and ca be sorted, so if you would like to find a specific group of contacts, you can do that using any field.
- Select contacts - At any point, you can select contacts to add to the left on the left panel. These will be the contacts you will carry back to the preview screen. Once back at the preview screen, you will be able to select them and see what the message will look like to them when they receive it.
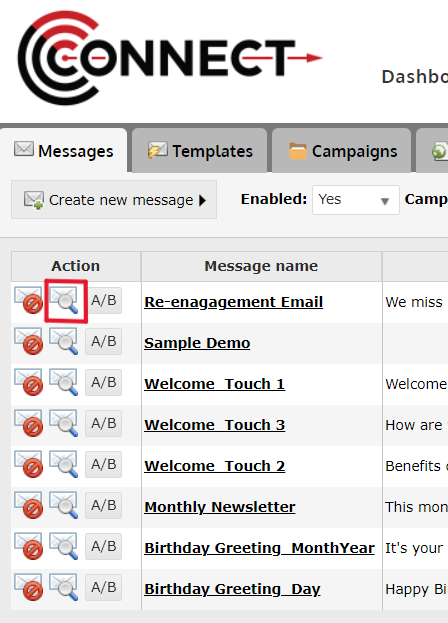
3. For a quick preview, you can click on the icon located next to the Message Name on the Email Messages tab under Compose.
How to Test a Message
Testing your messages is a very important process in quality assurance. We recommend thoroughly testing every message that you set up. Below are the steps necessary to send out test messages.
1. Click on the "Test" step

2. If required, select your Stakeholders

- Note: Do not have any Stakeholders set up? Click Here.
3. If required, select your Test Accounts

- Note: Do not have any Test Accounts set up? Click Here.
4. If required, select contacts for Dynamic Testing

- Click "Select Contacts"
5. OPTIONAL: Type in a Prefix for the Subject Line to Track Versions

- This option allows you to save a value in the Test step so that if you make changes later, you can change the version and that version will appear in the subject line.
- Example: Test - V1 - Subject line goes here
6. OPTIONAL: Select Creative Type to Send

- Tips:
- Email clients such as Microsoft Outlook, make it very difficult for email marketers to preview the text version when they are testing their email.
- By sending yourself just the Text Version, it now becomes easy. Subject prefix for testing: This field allows you to place a value in your subject line for testing purposes.
- For example, if I place "Version1" in this field, my subject line will look like "Test - Version 1 - Subject line text goes here".
- This comes in handy when you are working with similar looking messages.
7. Click Either "Send" or "Send 250ok Test Deployment"

- Send Test - the "Send" button will send a copy of the current message to the user's email address.
- 250ok - the "Send 250ok Test Deployment" button will verify if email addresses are legitimate.
- Note: If you selected contacts for dynamic testing, the tool will notify you of how many emails will be sent to the selected Stakeholders, Test accounts and yourself.
8. OPTIONAL: Viewing the Results of your Tests