How to Preview a Message
Previewing a message is a great way to verify the message you are about to use is correct and to instantly see the changes you have made to the message.
If you are using dynamic variables or content, it is a great way to verify that the logic and variables you used will work with the data you have collected for your contacts.
Below are multiple options throughout the system for previewing your message.
1. The Preview Step

At any time while setting up a message, you can switch to the "Preview" step and review what your message looks like in different situations. Below are some of the options you have access to.
- Contacts - This feature allows you to select contacts that are in your DataMart and see how the message would look to them with their dynamic information.
- Required DataMart Fields - This feature allows you to type in values for the DataMart fields that have been used in the dynamic content and preview what the template looks like when a contact has those values.
- Combination - This feature allows you to easily cycle through the different combinations of content that are available in the template.
- Note: This does not take into account the logic used.
- Screen Width - This feature allows you to simulate different screen widths and how your template reacts to them. Note: This does not simulate device specific behaviour.
If you would like a more in depth look at the Preview step and its feature, click here.
2. Selecting Contacts for Previewing
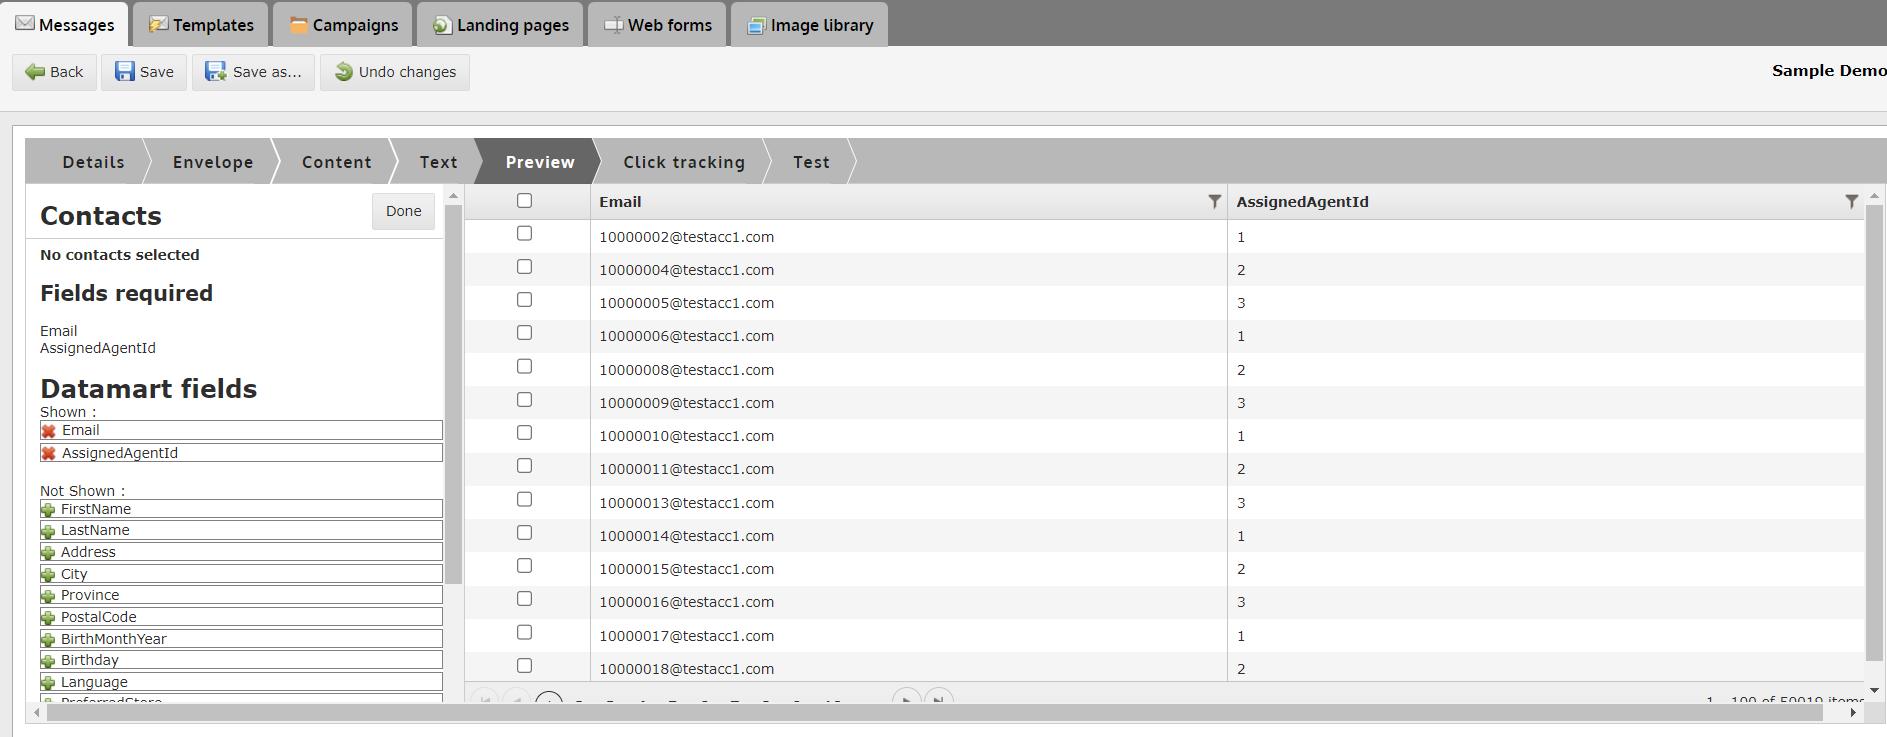
If you would like to view what your message will look like to other contacts in your DataMart, you can select contacts and load their data into the message to see how it will render with their information.
When selecting contacts, you have access to the following options:
- Fields required - This section lists the fields used in your message as both Dynamic Variables and in dynamic content logic. This will help you determine which fields are important to your message.
- DataMart fields - This section allows you to add/remove different DataMart fields from the contact grid on the right side of the screen.
- Each field is filterable and ca be sorted, so if you would like to find a specific group of contacts, you can do that using any field.
- Select contacts - At any point, you can select contacts to add to the left on the left panel. These will be the contacts you will carry back to the preview screen. Once back at the preview screen, you will be able to select them and see what the message will look like to them when they receive it.
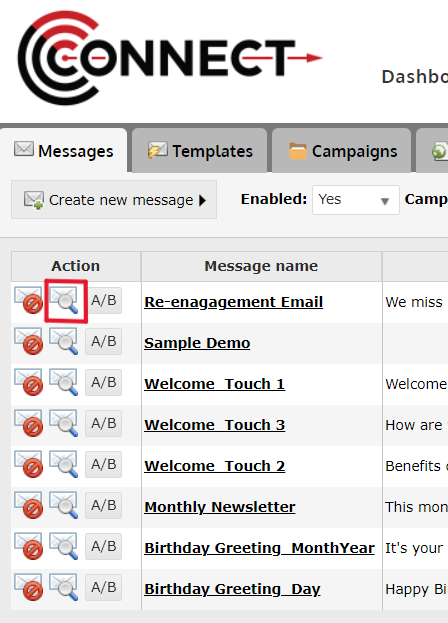
3. For a quick preview, you can click on the icon located next to the Message Name on the Email Messages tab under Compose.