
How to Manage your DataMart Fields
The fields of your DataMart help organize your entire DataMart. This is one of the first things you will want to setup before using CONNECT. Follow these steps to manage your fields.
1. Click on the "Manage Fields" button
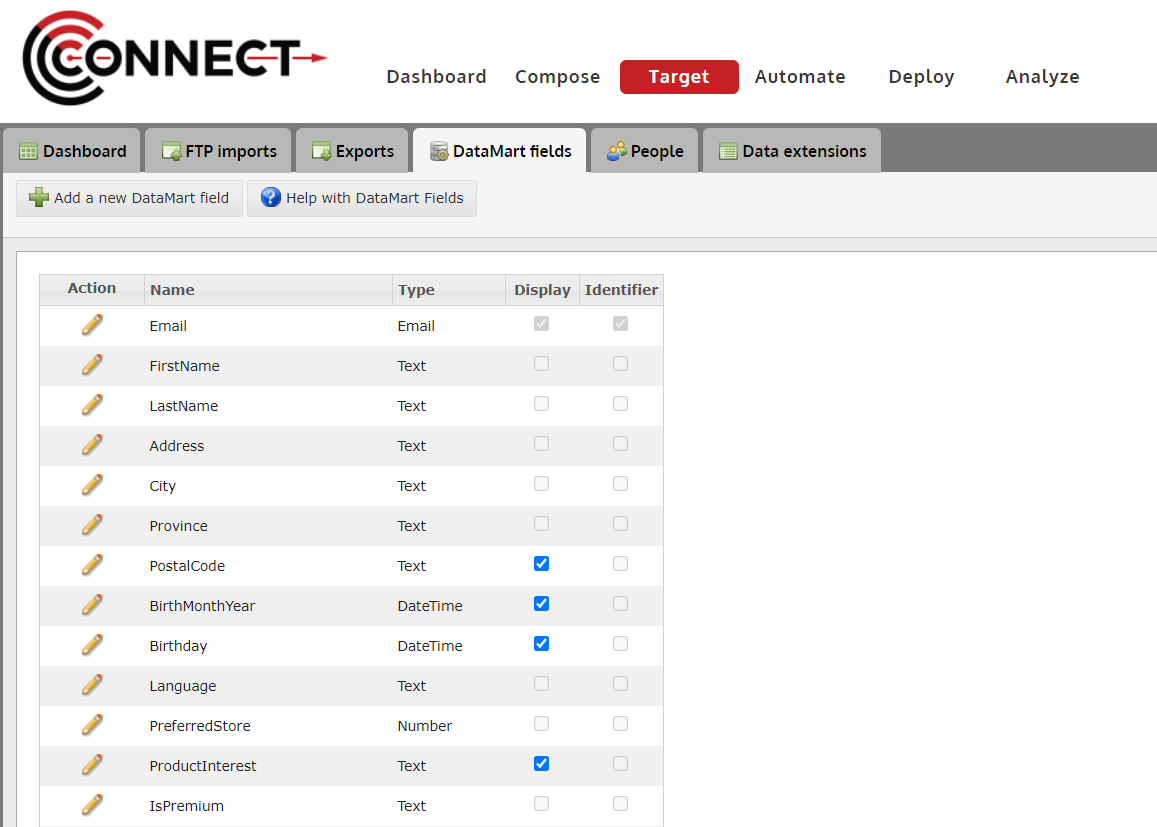
Alert: The fields created/edited in this screen, organize your entire DataMart.
Please read these tips carefully before using this screen.
Tips:
- When selecting the "Identifier, you will want to choose either the email address field or a unique number that you are creating outside the system (ie. Member number or Account number).
- Currently, CONNECT supports only 1 email field in your database. If you have any other email address fields, they will need to be entered as text fields and cannot be used for deployment.
- Once a field is created and data is uploaded to the field, it cannot be removed from your DataMart.
- If you have created a field you no longer need and have not uploaded data to it, please contact CONNECT Support to have it removed.
2. Adding a New Field
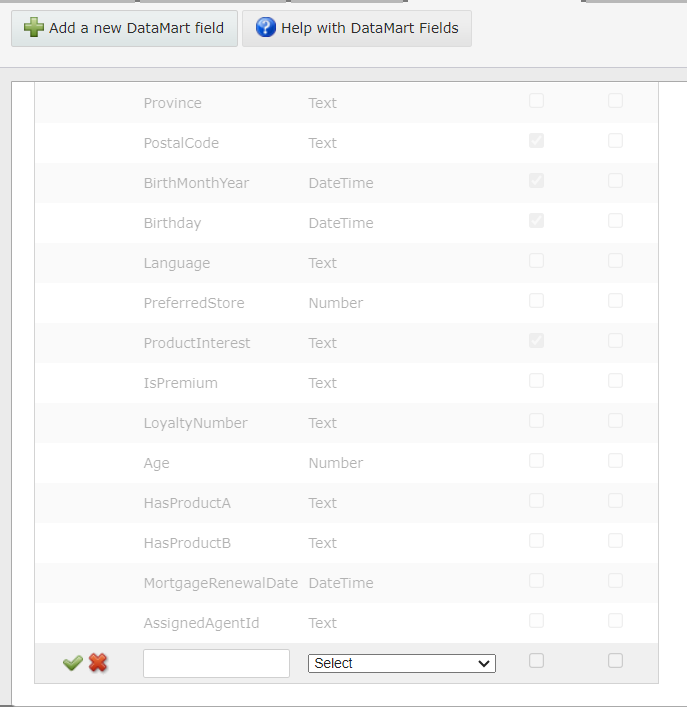
Steps:
- Click on the "Add a new DataMart Field" button
- Type in the field name you wish to add
- Select the data type that will be collected in this field.
- Click the checkmark to finish
OPTIONAL: Check off "Display" if you would like this field to appear in "Manage People".
3. Editing an Existing Field

- Click on the
 icon located next to the Field Name you would like to edit. Currently, you can only edit the name of a field.
